Media
Often you want to be able to assign some media to your Eloquent models.
Craftable provides you an option to do that. It uses Spatie's Spatie Laravel Medialibrary (opens in a new tab), but it goes a bit further:
- Beautiful UI - provides the uploader, media viewer elements and media manager
- Auto-Process - when saving an eloquent model, automatically processes and attaches media collections from the request
- Authorization - controls, who has the permission to attach specific medium to specific model
- Private access - controls, who has the permission to view specific medium
Basic Usage
There are two core concepts to understand - MediaCollections and MediaConversions.
If you have different types of files that you want to associate with your model (e.g. image gallery, list of PDFs), you can put them in their own MediaCollection.
When adding files to your media library, MediaConversions can automatically create derived versions such as thumbnails, optimized versions, etc.. You can register as many MediaConversions as you want.
Collection definition
First, we need to define the media collections for the specific model.
Let's imagine a Post model for following examples. You need to register media collection like this:
use Illuminate\Database\Eloquent\Model;
use Brackets\CraftablePro\Media\ProcessMediaTrait;
use Brackets\CraftablePro\Media\AutoProcessMediaTrait;
use Brackets\CraftablePro\Media\InteractsWithMedia;
use Spatie\MediaLibrary\HasMedia;

class Post extends Model implements HasMedia {

    use ProcessMediaTrait;
    use AutoProcessMediaTrait;
    use InteractsWithMedia;

    public function registerMediaCollections(): void {
        $this->addMediaCollection('gallery');
    }
Here we have added new gallery media collection.
Saving media
If we use AutoProcessMediaTrait media are attached automatically from the request (on saving event hook). You just need to use our uploader element or attach a gallery data structure to your request data like this:
class PostsController extends Controller {
    ...
    public function store(StoreRequest $request)
    {
        // this will automatically attach $request->file('gallery') to the Post
        $post = Post::create($request->validated());
        ...
    }
The $request->gallery should be an array in following format:
[
    [
        'id' => null,
        'collection_name' => 'gallery',
        'path' => 'my_lovely_picture_1.jpg',
        'action' => 'add',
        'meta_data' => [ // or any other data
            'name' => 'test',
            'width' => 200,
            'height' => 200,
        ],
    ],
    [
        'id' => null,
        'collection_name' => 'gallery',
        'path' => 'my_lovely_picture_2.jpg',
        'action' => 'add',
        'meta_data' => [ // or any other data
            'name' => 'test',
            'width' => 200,
            'height' => 200,
        ],
    ],
    ...
];
If Auto Process is not convenient it can be turned off simply by not using AutoProcessMediaTrait.
Once turned-off you can still process media manually using processMedia() method on your model or you can use Spatie's way of attaching media (see https://docs.spatie.be/laravel-medialibrary/v9/basic-usage/associating-files (opens in a new tab)).
Media Conversions
By default, we provide handy trait HasMediaPreviewsTrait that will automatically create preview conversion for each registered media collection. You can use it like this:
use Illuminate\Database\Eloquent\Model;
use Brackets\CraftablePro\Media\ProcessMediaTrait;
use Brackets\CraftablePro\Media\AutoProcessMediaTrait;
use Brackets\CraftablePro\Media\InteractsWithMedia;
use Spatie\MediaLibrary\HasMedia;
use Brackets\CraftablePro\Media\HasMediaPreviewsTrait;
use Spatie\MediaLibrary\MediaCollections\Models\Media;

class Post extends Model implements HasMedia {

    use ProcessMediaTrait;
    use AutoProcessMediaTrait;
    use InteractsWithMedia;
    use HasMediaPreviewsTrait;

    public function registerMediaCollections(): void {
        $this->addMediaCollection('gallery');
    }

    public function registerMediaConversions(Media $media = null): void
    {
        $this->autoRegisterPreviews();
    }
If you want to create your own conversions (adjust width, height, crop, optimize, fine tune colors...) you can do so like this:
use Illuminate\Database\Eloquent\Model;
use Brackets\CraftablePro\Media\ProcessMediaTrait;
use Brackets\CraftablePro\Media\AutoProcessMediaTrait;
use Brackets\CraftablePro\Media\InteractsWithMedia;
use Spatie\MediaLibrary\HasMedia;
use Brackets\CraftablePro\Media\HasMediaPreviewsTrait;
use Spatie\MediaLibrary\MediaCollections\Models\Media;

class Post extends Model implements HasMedia {

    use ProcessMediaTrait;
    use AutoProcessMediaTrait;
    use InteractsWithMedia;
    use HasMediaPreviewsTrait;

    public function registerMediaCollections(): void
    {
        $this->addMediaCollection('gallery');
    }

    public function registerMediaConversions(Media $media = null): void
    {
        $this->autoRegisterPreviews();

        $this->addMediaConversion('detail_hd')
            ->width(1920)
            ->height(1080)
            ->sharpen(10)
            ->performOnCollections('gallery');
    }
It uses Spatie's fluent API, so for more info, check out their docs at https://docs.spatie.be/laravel-medialibrary/v9/converting-images/defining-conversions (opens in a new tab).
Retrieve
To retrieve files you can use the getMedia method:
$mediaItems = $post->getMedia('nameOfTheCollection');
$publicUrl = $mediaItems[0]->getUrl();

// to retrieve media from any Media Conversion
$publicUrl = $mediaItems[0]->getUrl('nameOfTheConversion');
For more info check the Spatie's docs: https://docs.spatie.be/laravel-medialibrary/v9/basic-usage/retrieving-media (opens in a new tab)
Advanced usage
There are following methods on Media Collections:
public function registerMediaCollections(): void
{
$this->addMediaCollection('gallery')
->disk('media') // Specify a disk where to store this collection
->private() // Alias to setting default private disk
->maxNumberOfFiles(10) // Set the file count limit
->maxFilesize(2*1024*1024) // Set the file size limit
->accepts('image/*') // Set the accepted file types (in MIME type format)
->canView('media.view') // Set the ability (Gate) which is required to view the medium (in most cases you would want to call private())
->canUpload('media.upload') // Set the ability (Gate) which is required to upload & attach new files to the model
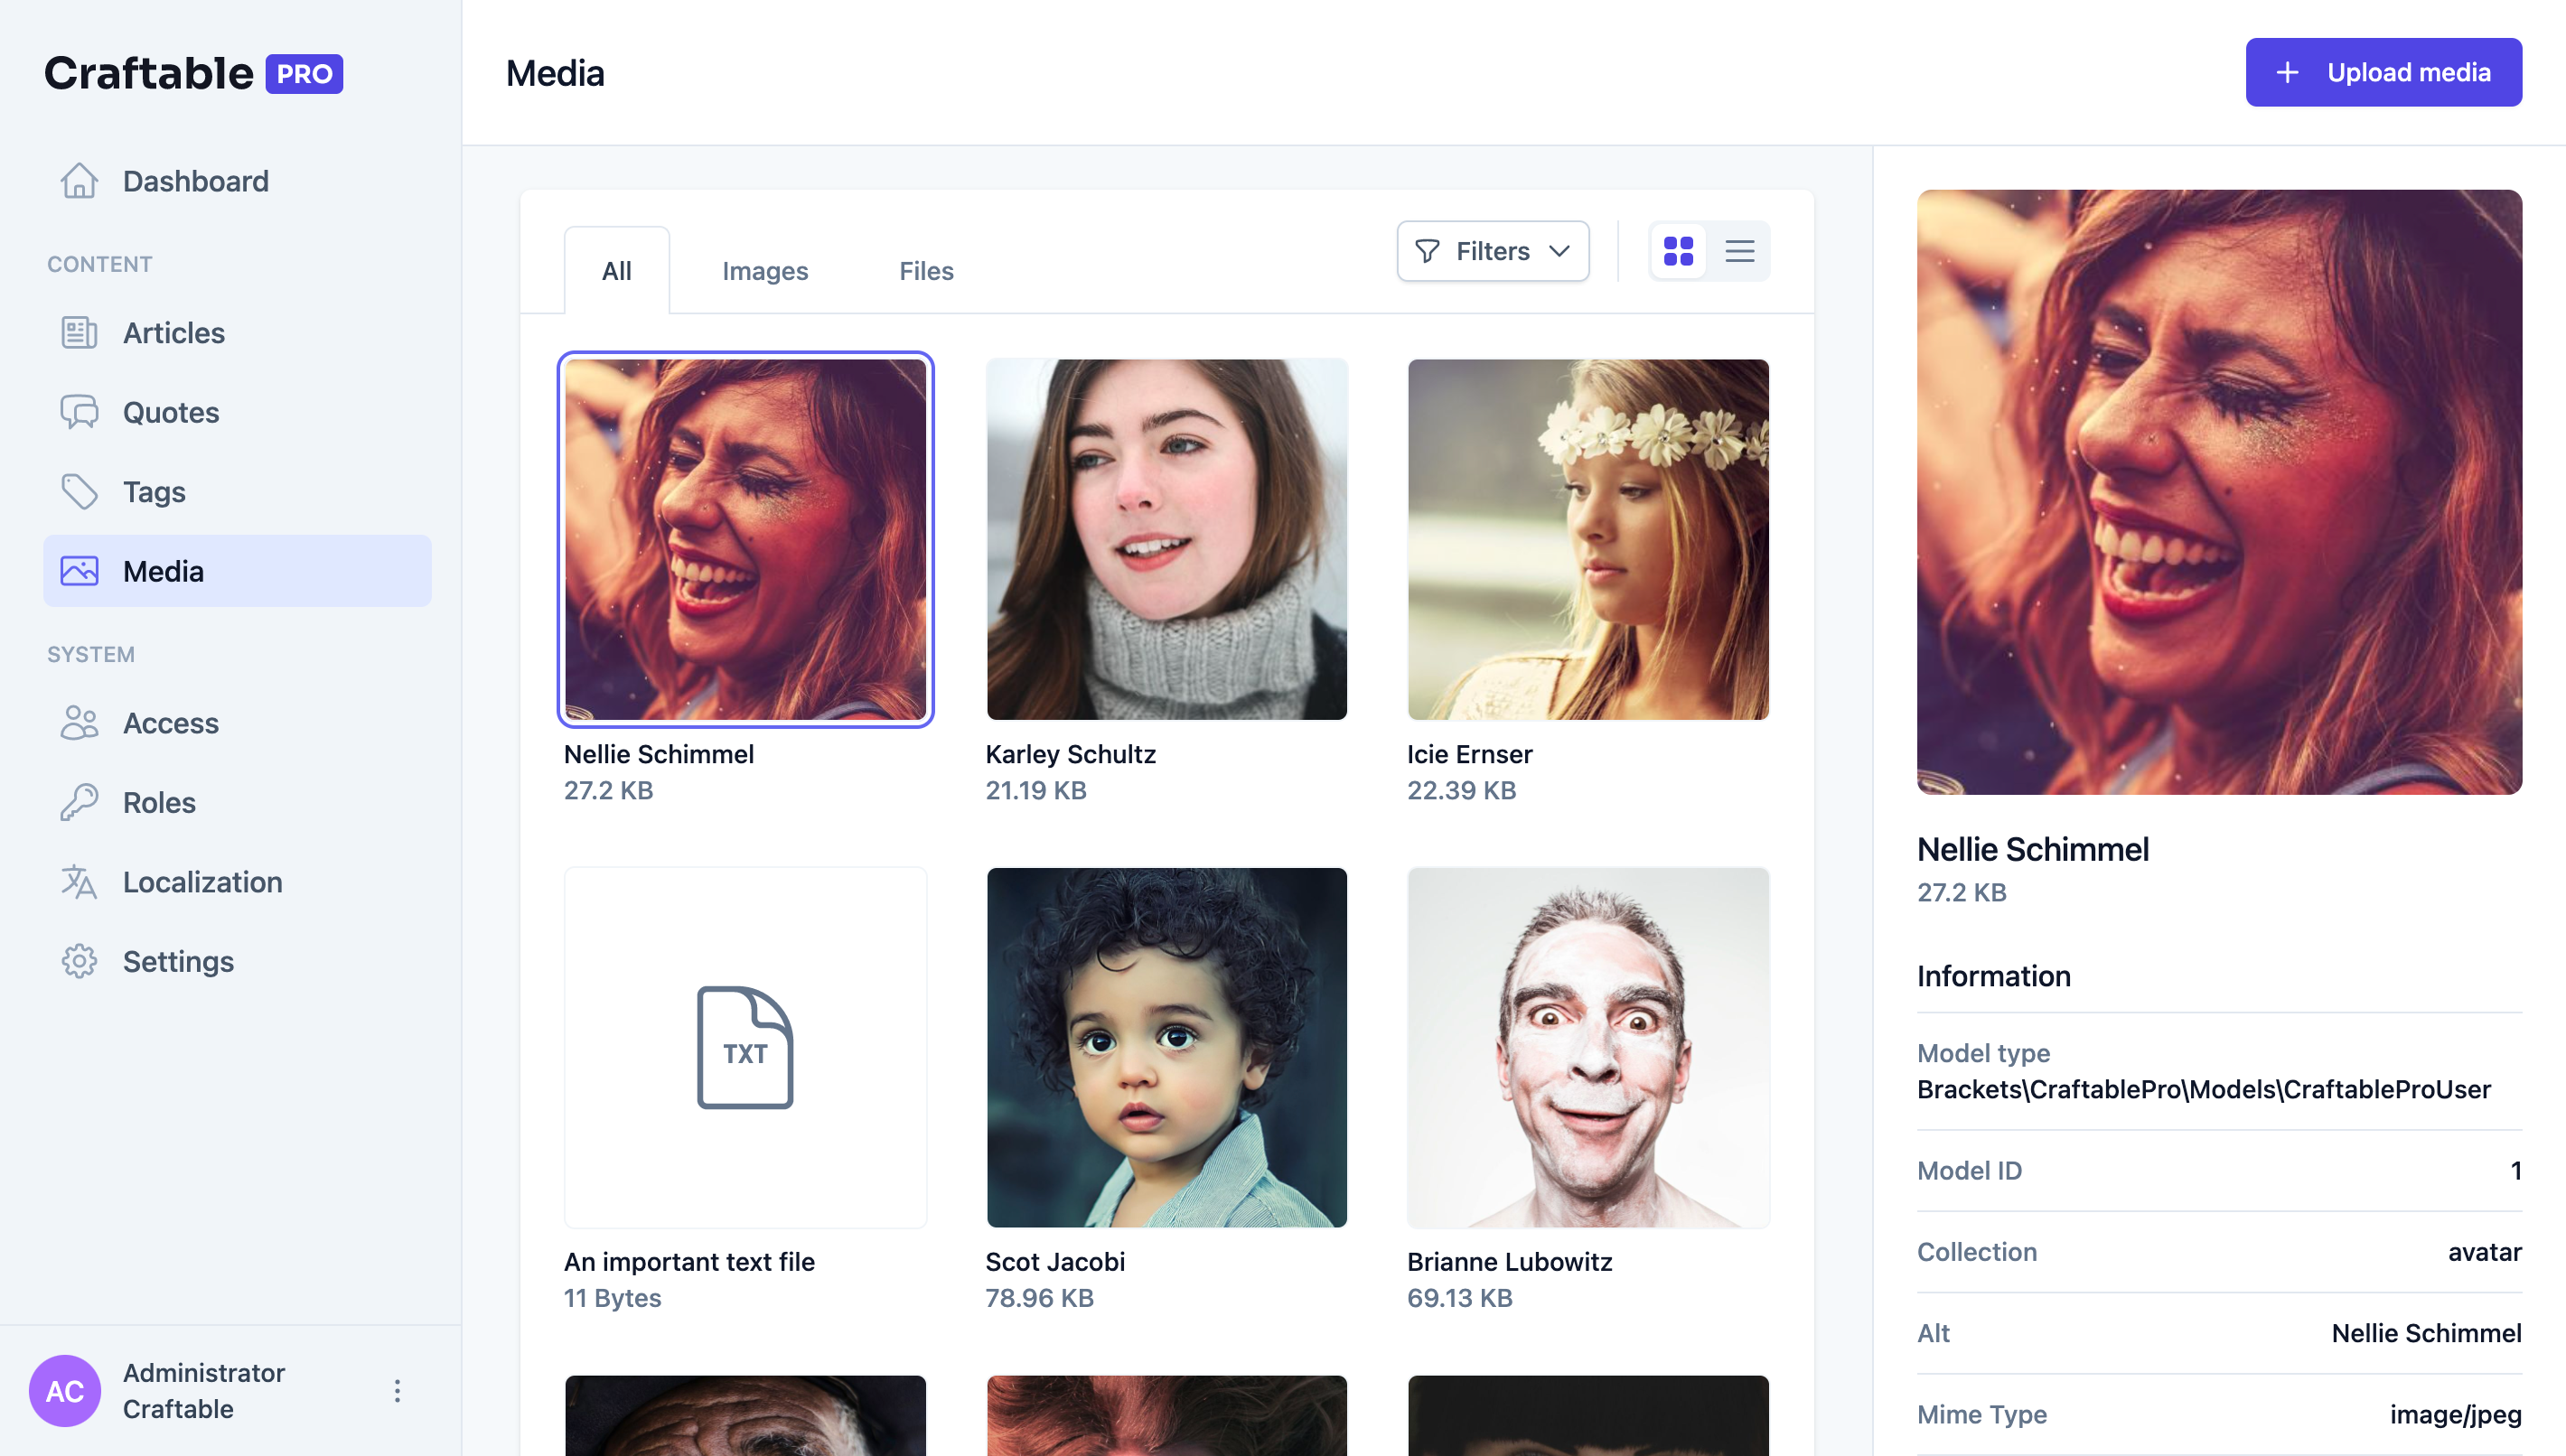
}Media manager
Craftable PRO includes media manager for management of images throughout all the models. You can use it for example for searching for specific media using filters or cleaning your media files.
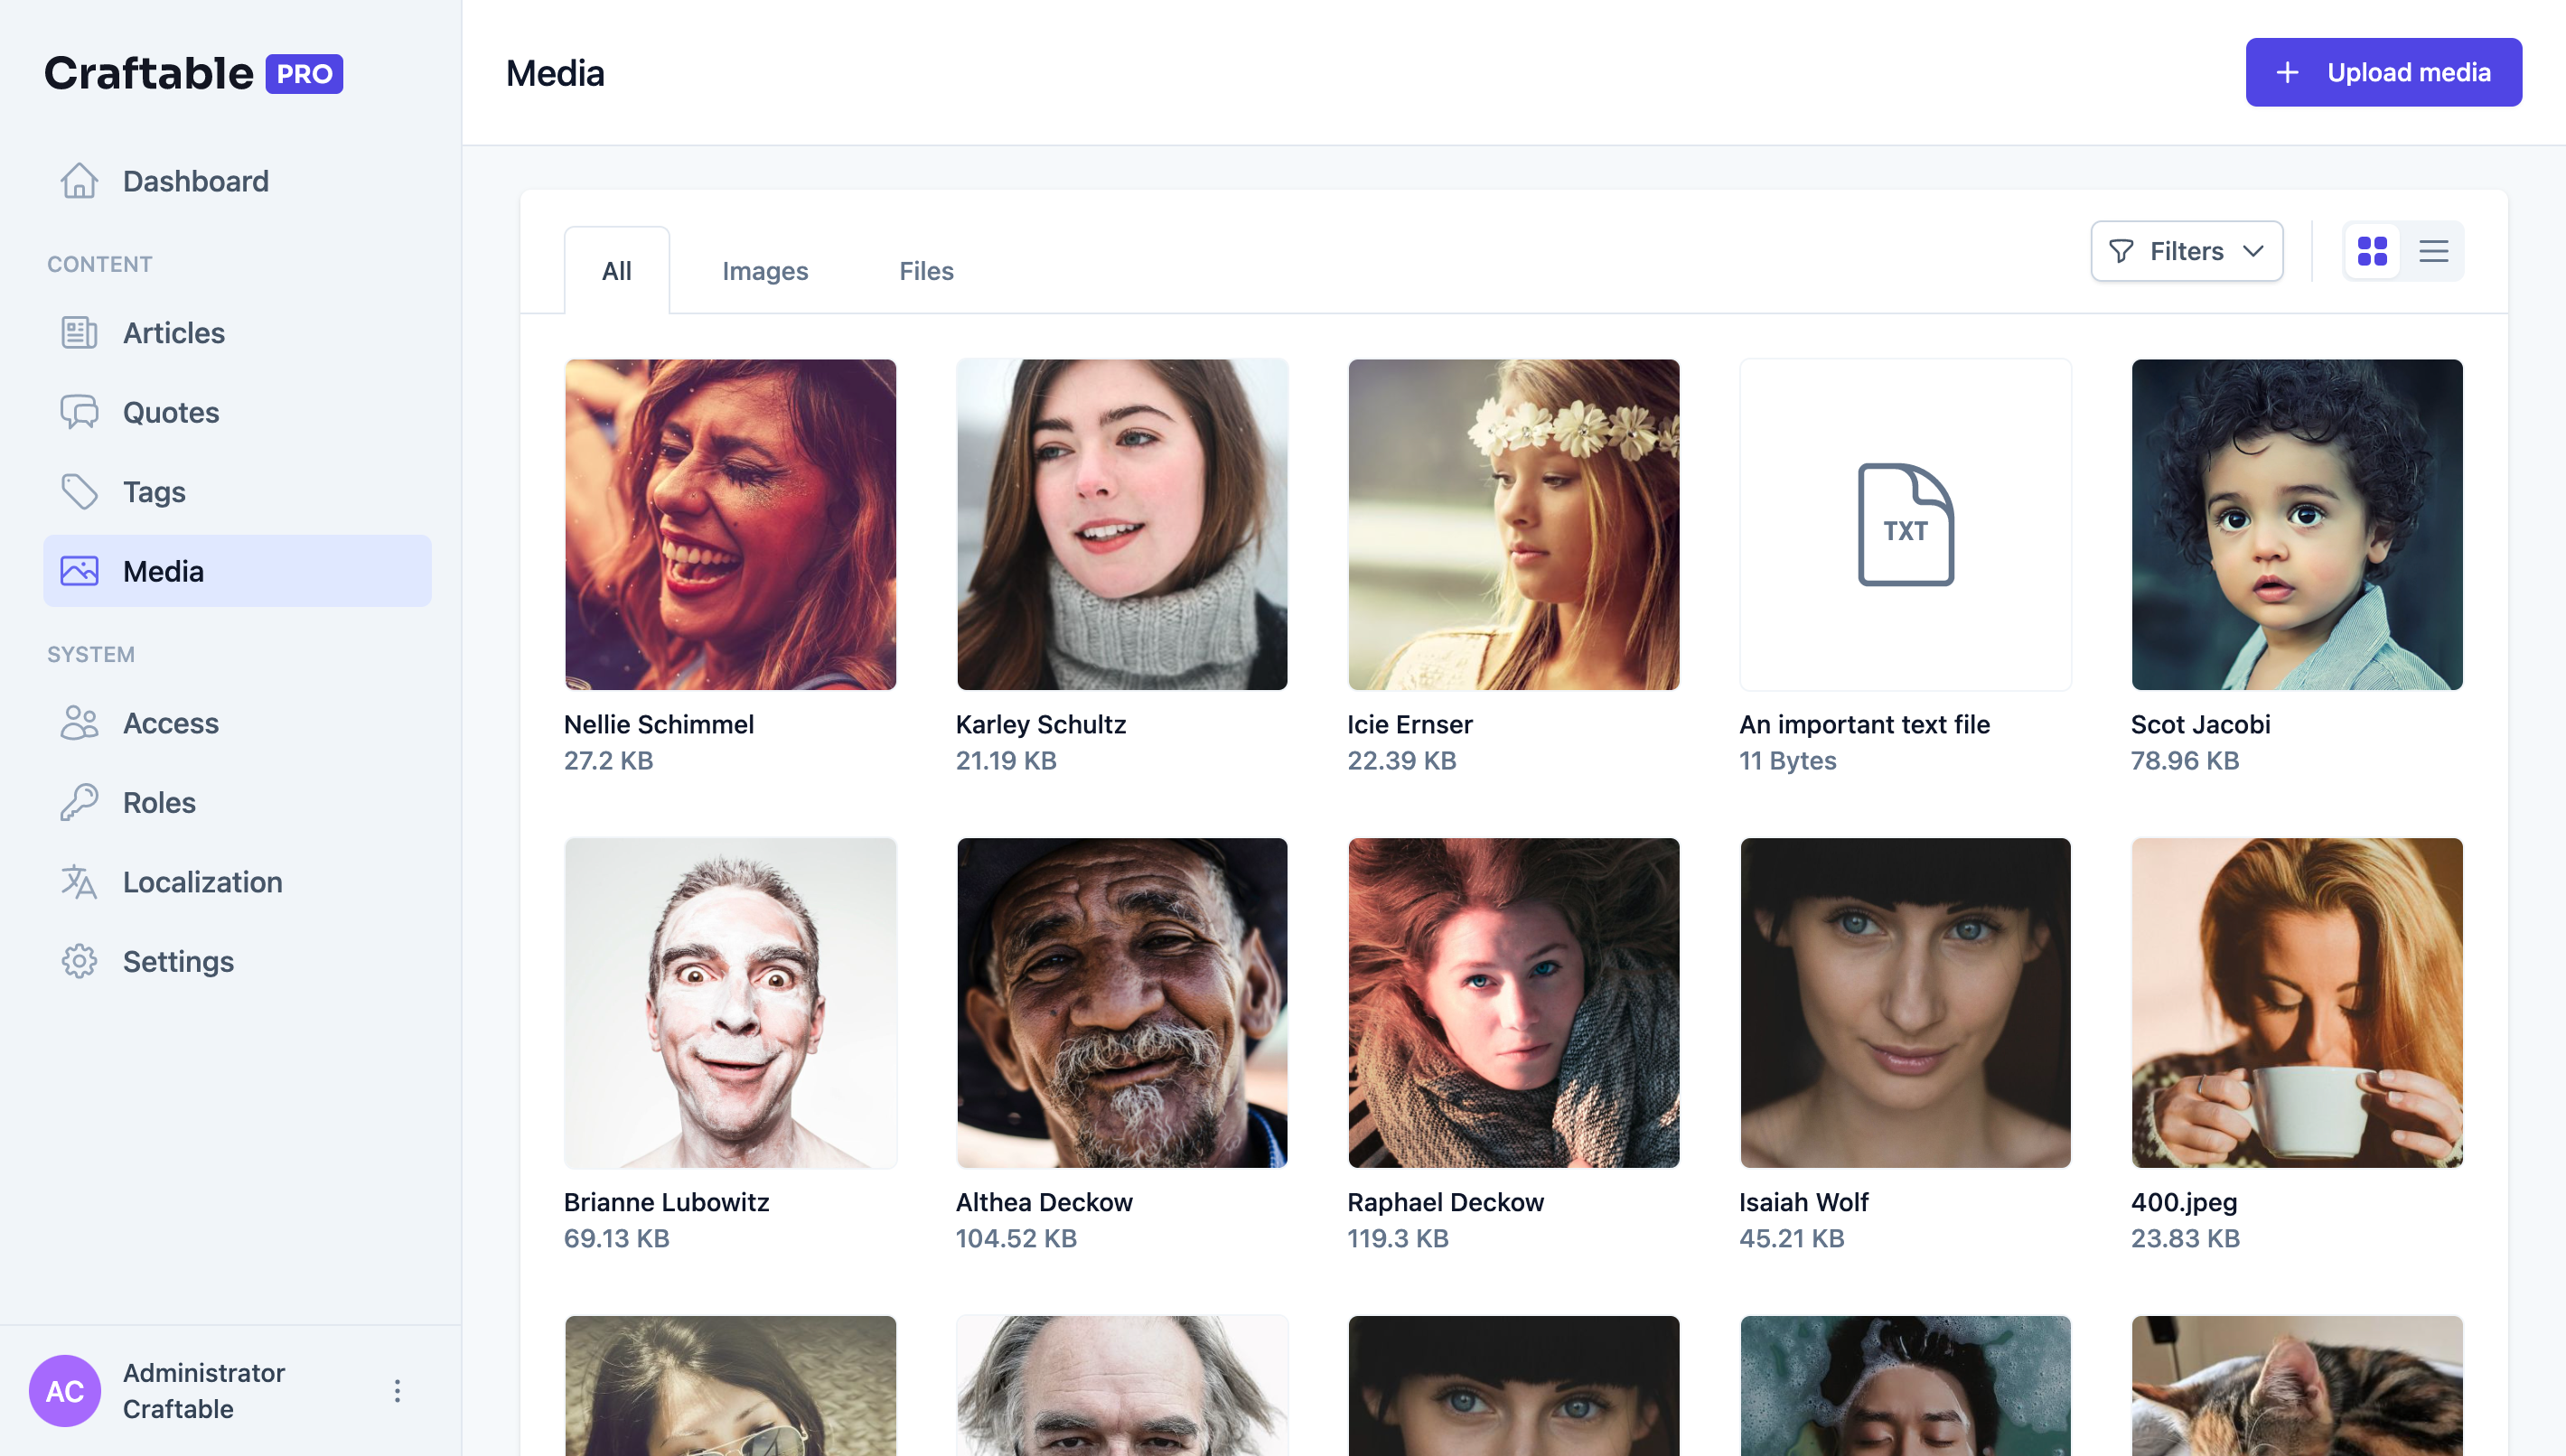
In addition, when you need just a link for some media without actually attaching it to a particular model, you can upload a photo directly through the media manager. This file will be unassigned (will be assigned to UnassignedMedia model).
Media manager provides simple filtering, possibility to download or to delete media.
Dropzone
To use Dropzone component, import it from craftable-pro/Components:
import { Dropzone } from "craftable-pro/Components";Then you can use it like this. Bear in mind that v-model has to be an empty array or array of media files from model and name has to be collection name of model.
<template>
  <Dropzone v-model="form.thumbnail" name="thumbnail" />
</template>
<script setup>
...

const { form, submit } = useForm(
    {
        ...
        thumbnail: props.article?.media
            ? props.article.media.filter(
                  (item) => item.collection_name === "thumbnail"
              )
            : []
    }
);
</script>
You can also pass additional options to Dropzone. For example:
<Dropzone
  v-model="form.thumbnail"
  name="thumbnail"
  :maxNumberOfFiles="1"
  :maxFileSize="1024 * 1024 * 2"
  accept="image/png,image/jpeg"
  :onlyThumbs="true"
/>
Where maxNumberOfFiles is the maximum number of files that can be uploaded, maxFileSize is the maximum size of file that can be uploaded in bytes, accept is the accepted file types (in MIME type format) and onlyThumbs is a boolean that determines whether to show only thumbnails or to show thumbnails and inputs for custom properties.