Translations
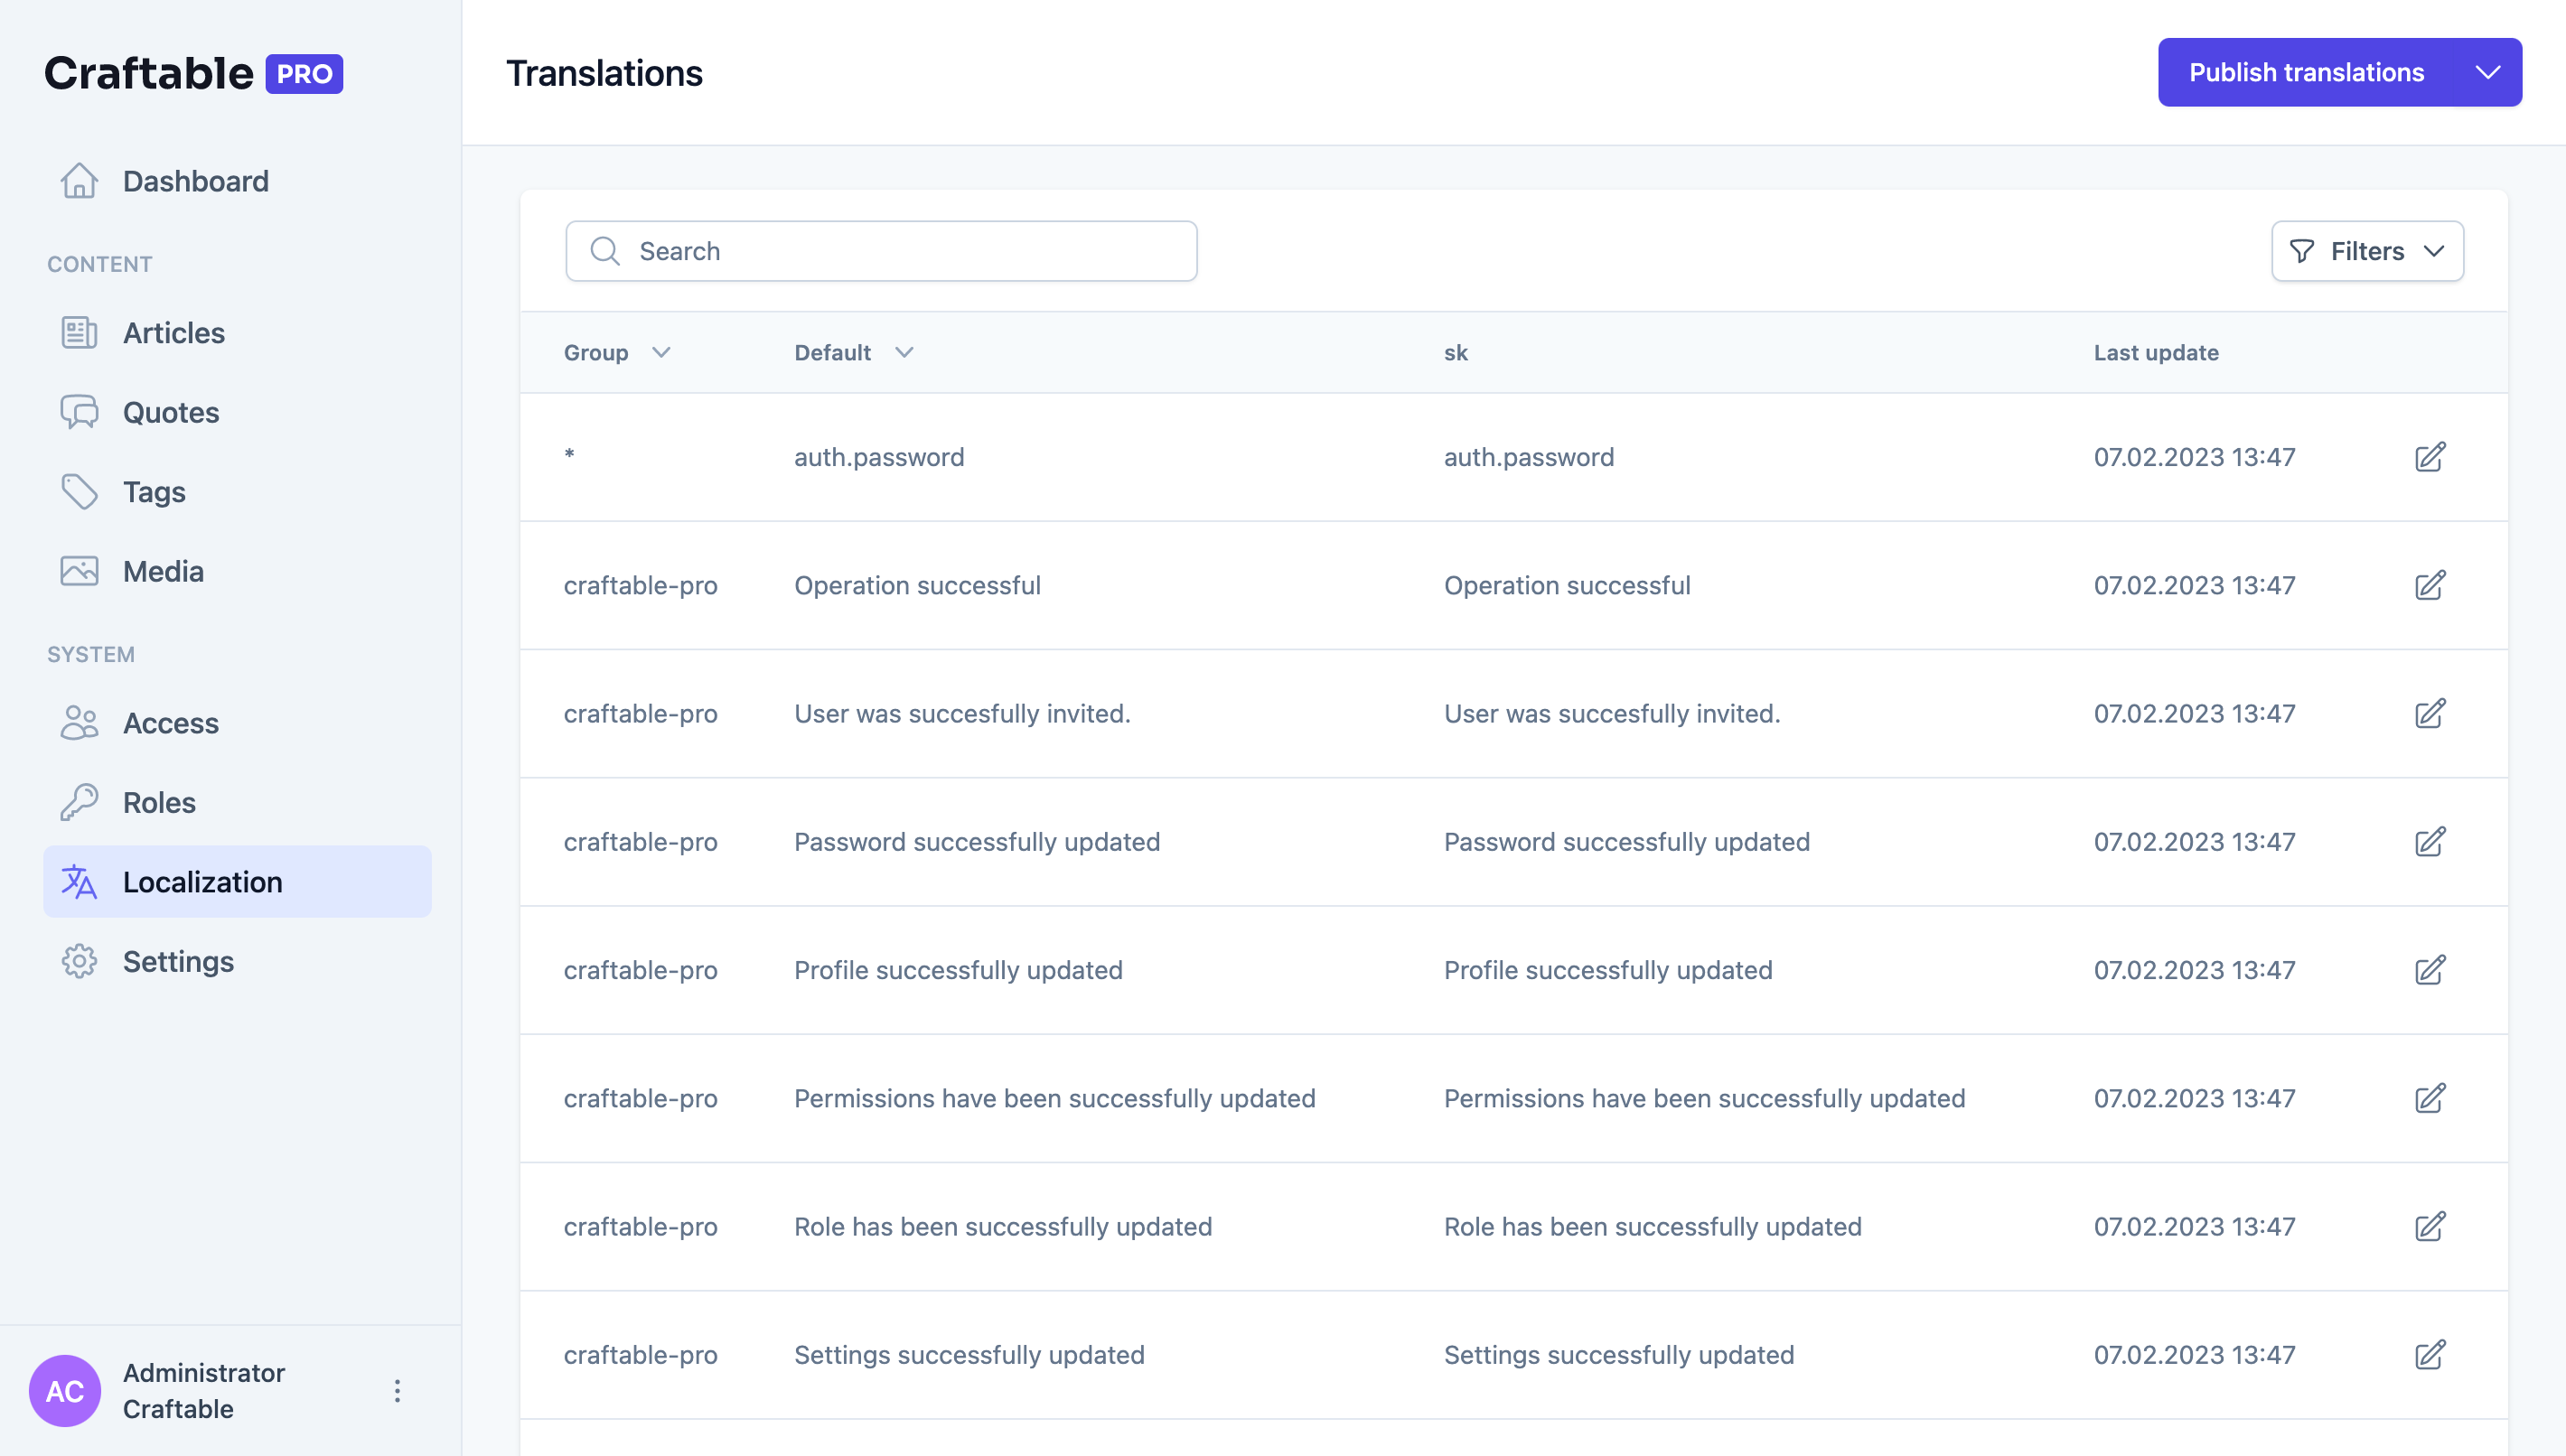
Craftable PRO comes with a complex built-in system which is able to scan through the files and load translatable strings into the Translations Manager.
Translation manager
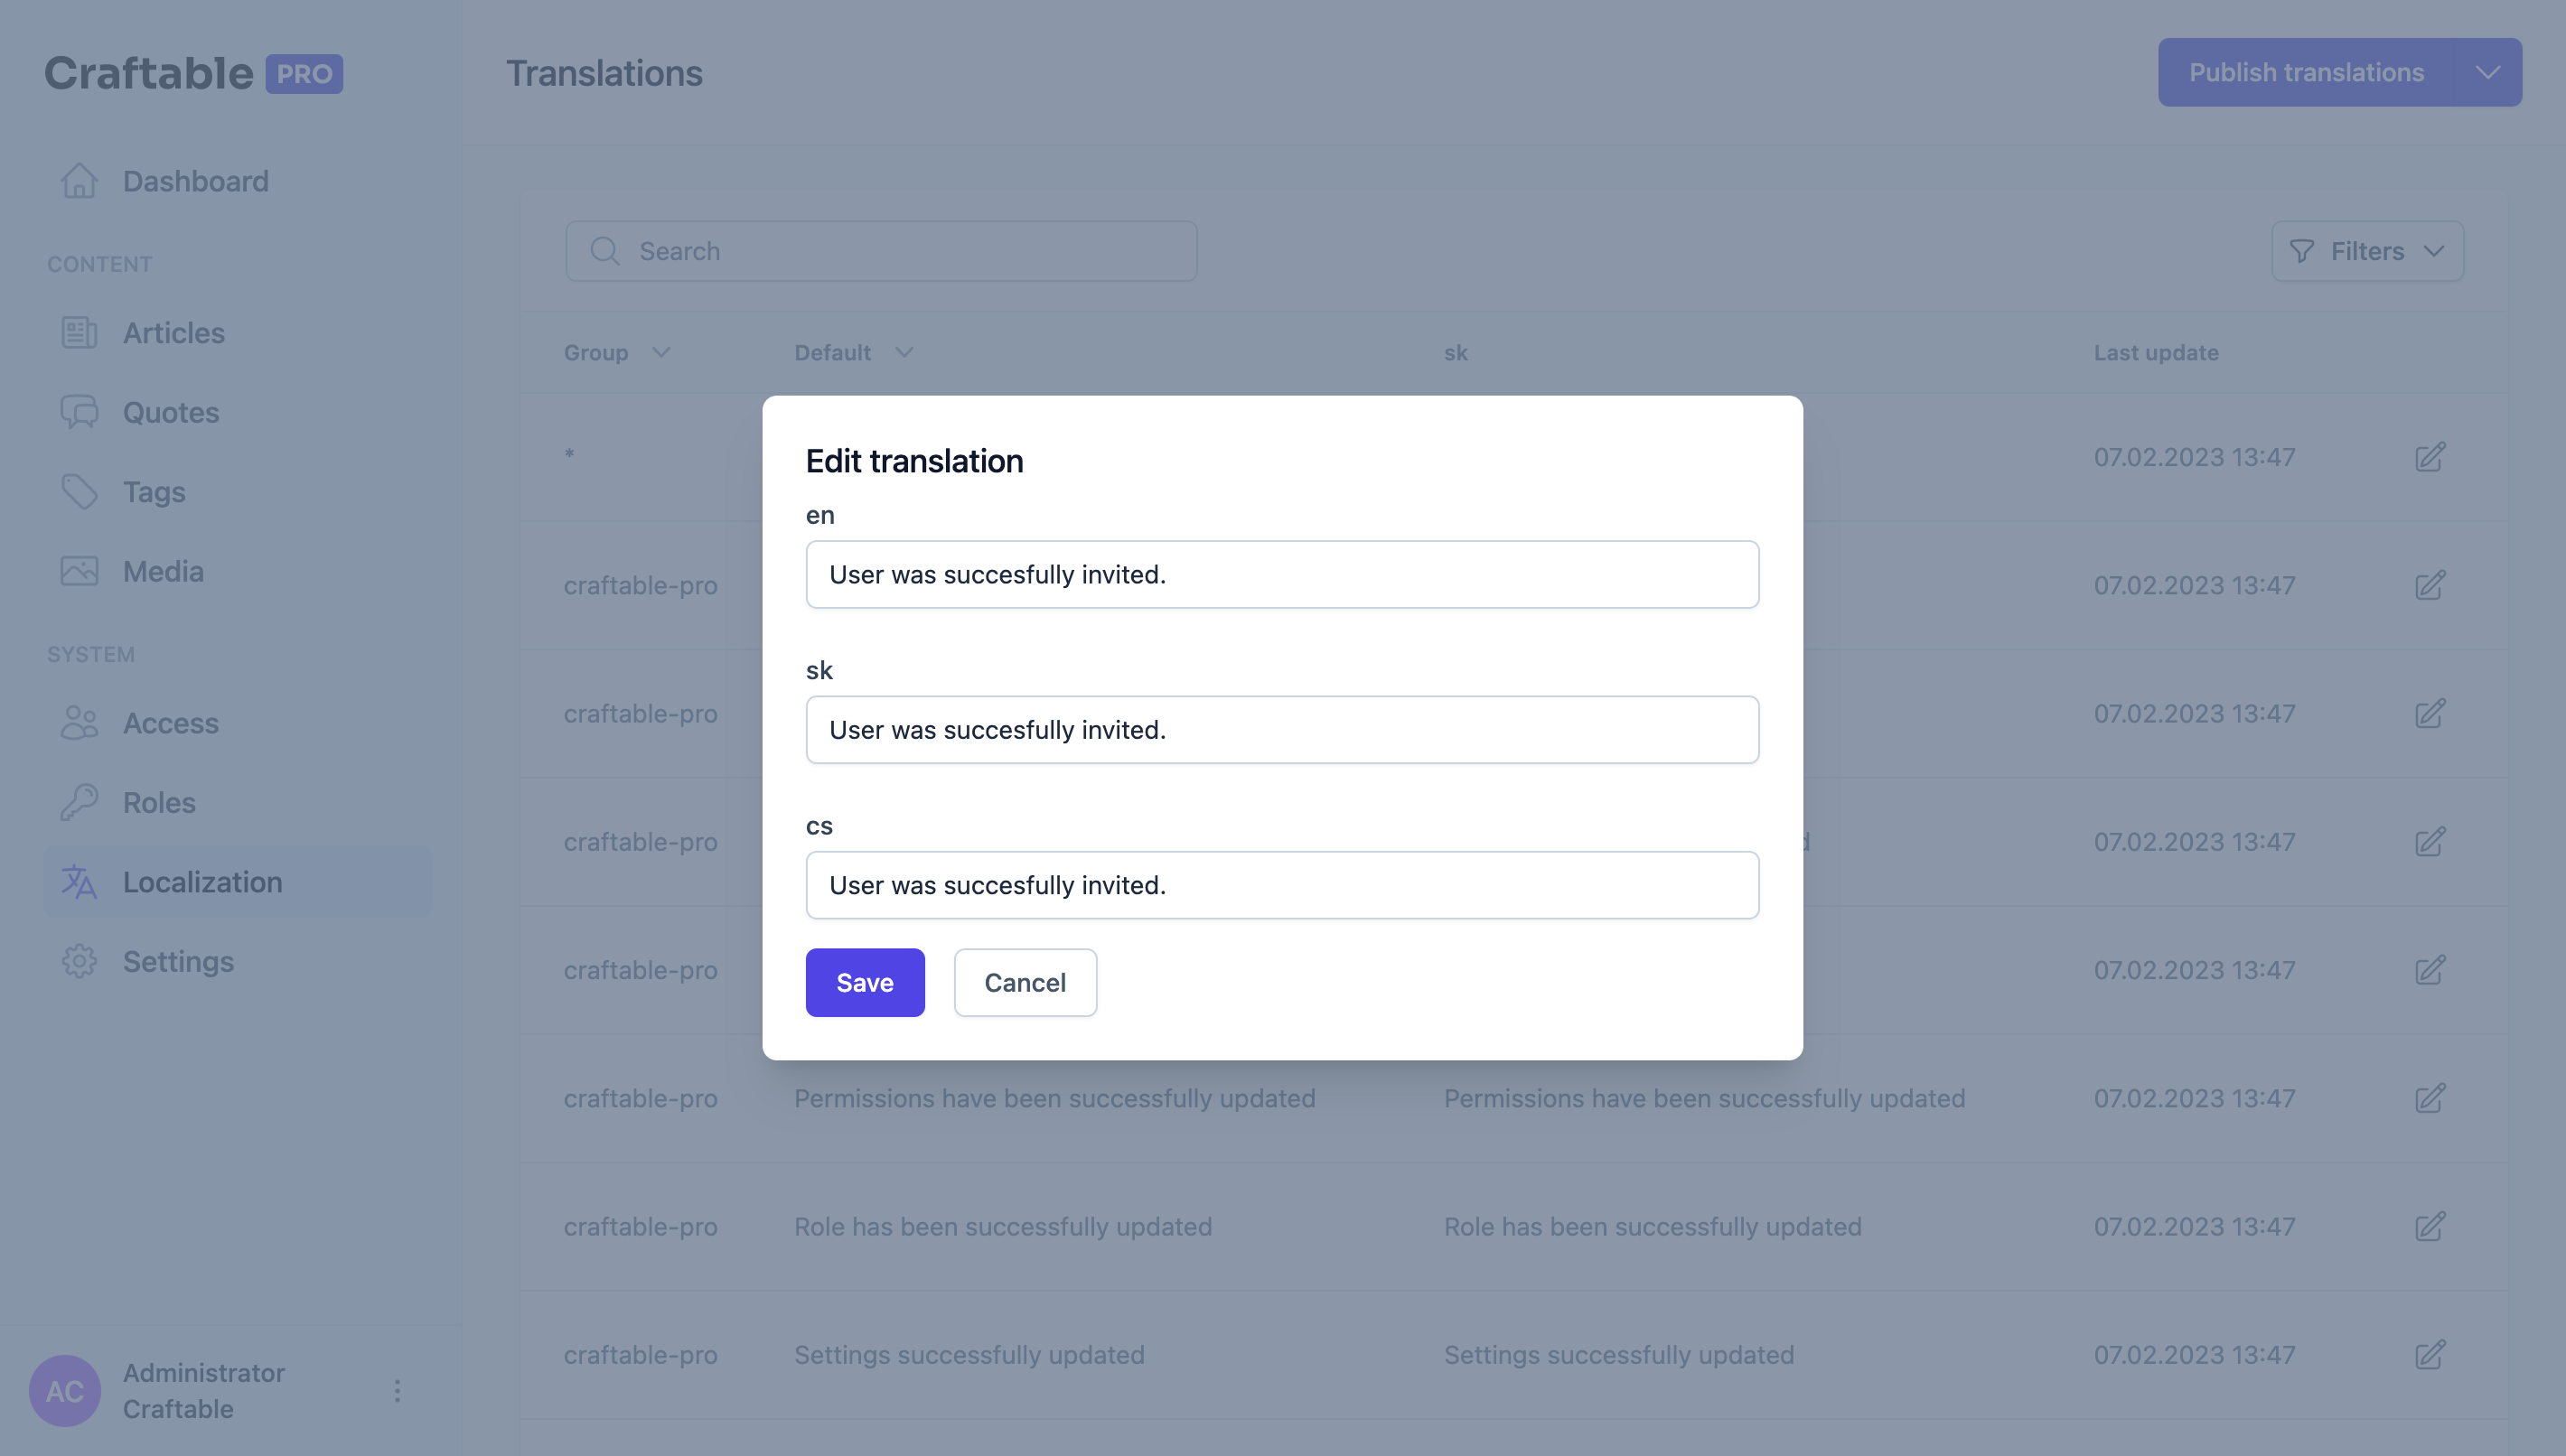
The Database structure of Craftable PRO Translations is based on Spatie Laravel Translatable (opens in a new tab) package. On top of it, Craftable PRO brings a nice UI for editing translation strings.
Actions
Within this Translation page are available several actions detaily described on this page below.

Scanners
You can use several functions in your frontend views. When working with JS or Vue files $t/$tChoice/trans/transChoice/wTrans/wTransChoice are automatically available. More information on how to work with these functions is available in Frontend/Translations.
When working with PHP files, you can use all the basic Laravel functions. In addition, we introduced function ___ which enables you to specify the group. For example in ___('posts', 'Title') word "posts" represents the group.
After you successfully defined all translatable strings in your templates, our scanners come to help. Scanners are divided into Internal and External.
Internal Scanners
By default, Craftable PRO comes with PhpScanner and JsScanner. In Craftable PRO config, you can define paths to be scanned. The default setting is below.
'translations' => [
    'scan' => [
            PHPScanner::class => [
                'paths' => [
                    base_path('vendor/brackets/craftable-pro/src/Http/Controllers'),
                    resource_path('views')
                ]
            ],
            JsScanner::class => [
                'paths' => [
                    base_path('vendor/brackets/craftable-pro/resources/js'),
                    resource_path('js'),
                ],
            ]
        ],

    //...
]
As you can see, it is very straightforward. You just have to define the scanner and paths to be scanned.
The next step is to run actual scanning by visiting Localization in the admin. Re-scan button can be found in the top-right button submenu.
You can run re-scan also by calling the artisan command:
php artisan craftable-pro:scan-translationsIf you are using pipelines for deployment, the recommended way is to run this command automatically within them. It can be called at any point after pulling the changes.
All translations are then available on the Translations page, where you can edit them.
External Scanners
In addition to PHP and JS scanners Craftable PRO can deal also with JSON files. We call those external, as they can be unrelated directly to your app.
Under the translations in config you can specify external scanners. You just have to specify the path to the scanned folder. Scanning process is the same as with external scanners.
'external' =>
    [
        [
            'group' => 'permissions',
            'scan' => [
                JsonScanner::class => [
                    'paths' => [
                        resource_path('translations/permissions'),
                    ]
                ],
            ]
        ],
    ],
All found json files will be scanned and found keys will be added to Translations Manager.
Digging deeper
You can prepare your own scanners. For your convenience, we prepared interfaces ScannerInterface.php and ExternalScannerInterface.php. You can implement these interfaces and use your own scanner in the config file.
You can also use the abstract class BaseScanner.php. After extending this class all you need is to define your own regex patterns and the scanner will be working out of the box. You can get inspiration from PhpScanner.php.
Publishing
When working with Vue components we use Json files as a source of translated strings. This approach is, however, applicable also in other use cases. If you had for example mobile app, you would need to somehow publish your translations to enable the mobile app to use them. That's why we developed publish functionality. You can specify in the Craftable PRO config which groups should be published and where to publish Json files.
'publish' => [
    'craftable-pro' => [
        'groups' => ['craftable-pro', 'permissions', 'locales'],
        'path' => public_path('lang/'),
    ],
]
After that, you have to publish translations by clicking the "Publish Translations" button on the Translations page or by calling the artisan command:
php artisan craftable-pro:publish-translationsYour translated strings will be then saved in the public/lang folder. Files will be named after the translation group. Given locales de, en and sk, the result would be:
public/lang
├── de
|    └── craftable-pro.json
├── en
|    └── craftable-pro.json
└── sk
     └── craftable-pro.json
Adding new locales
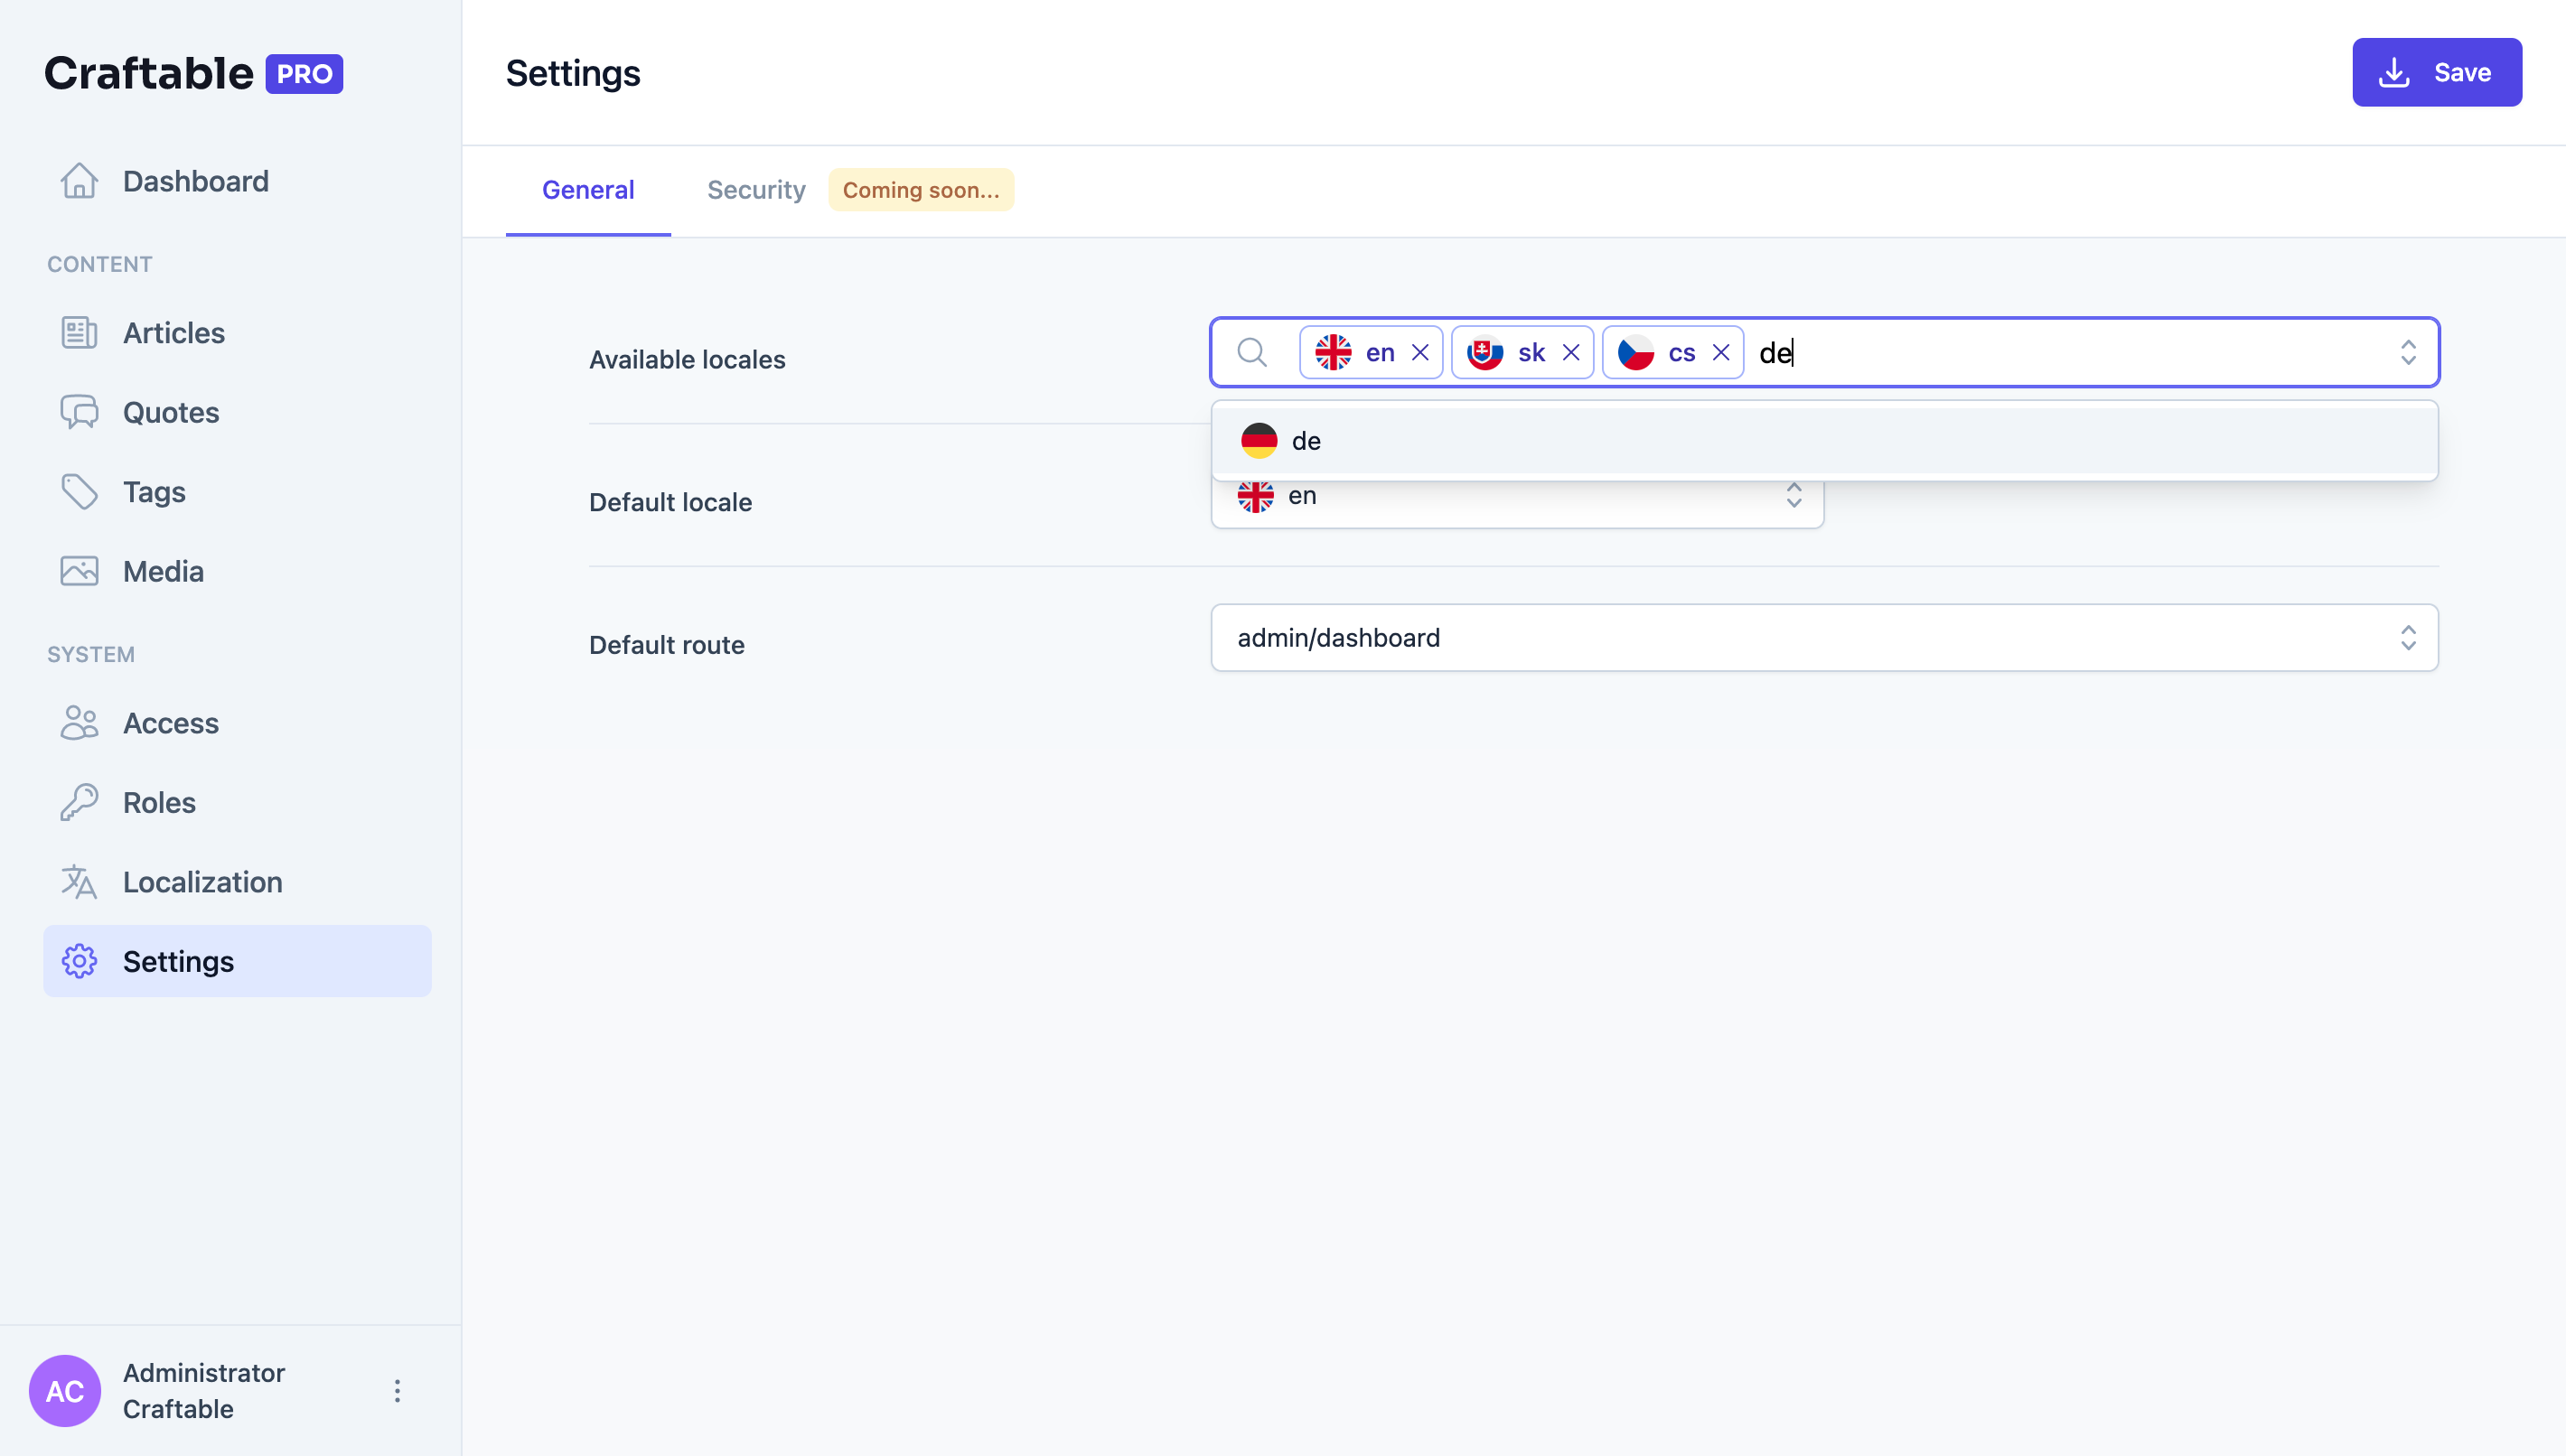
You are able to create a new locale on the Settings page (see Settings). All you need to do is to add a new locale to multiselect and hit enter.
Export
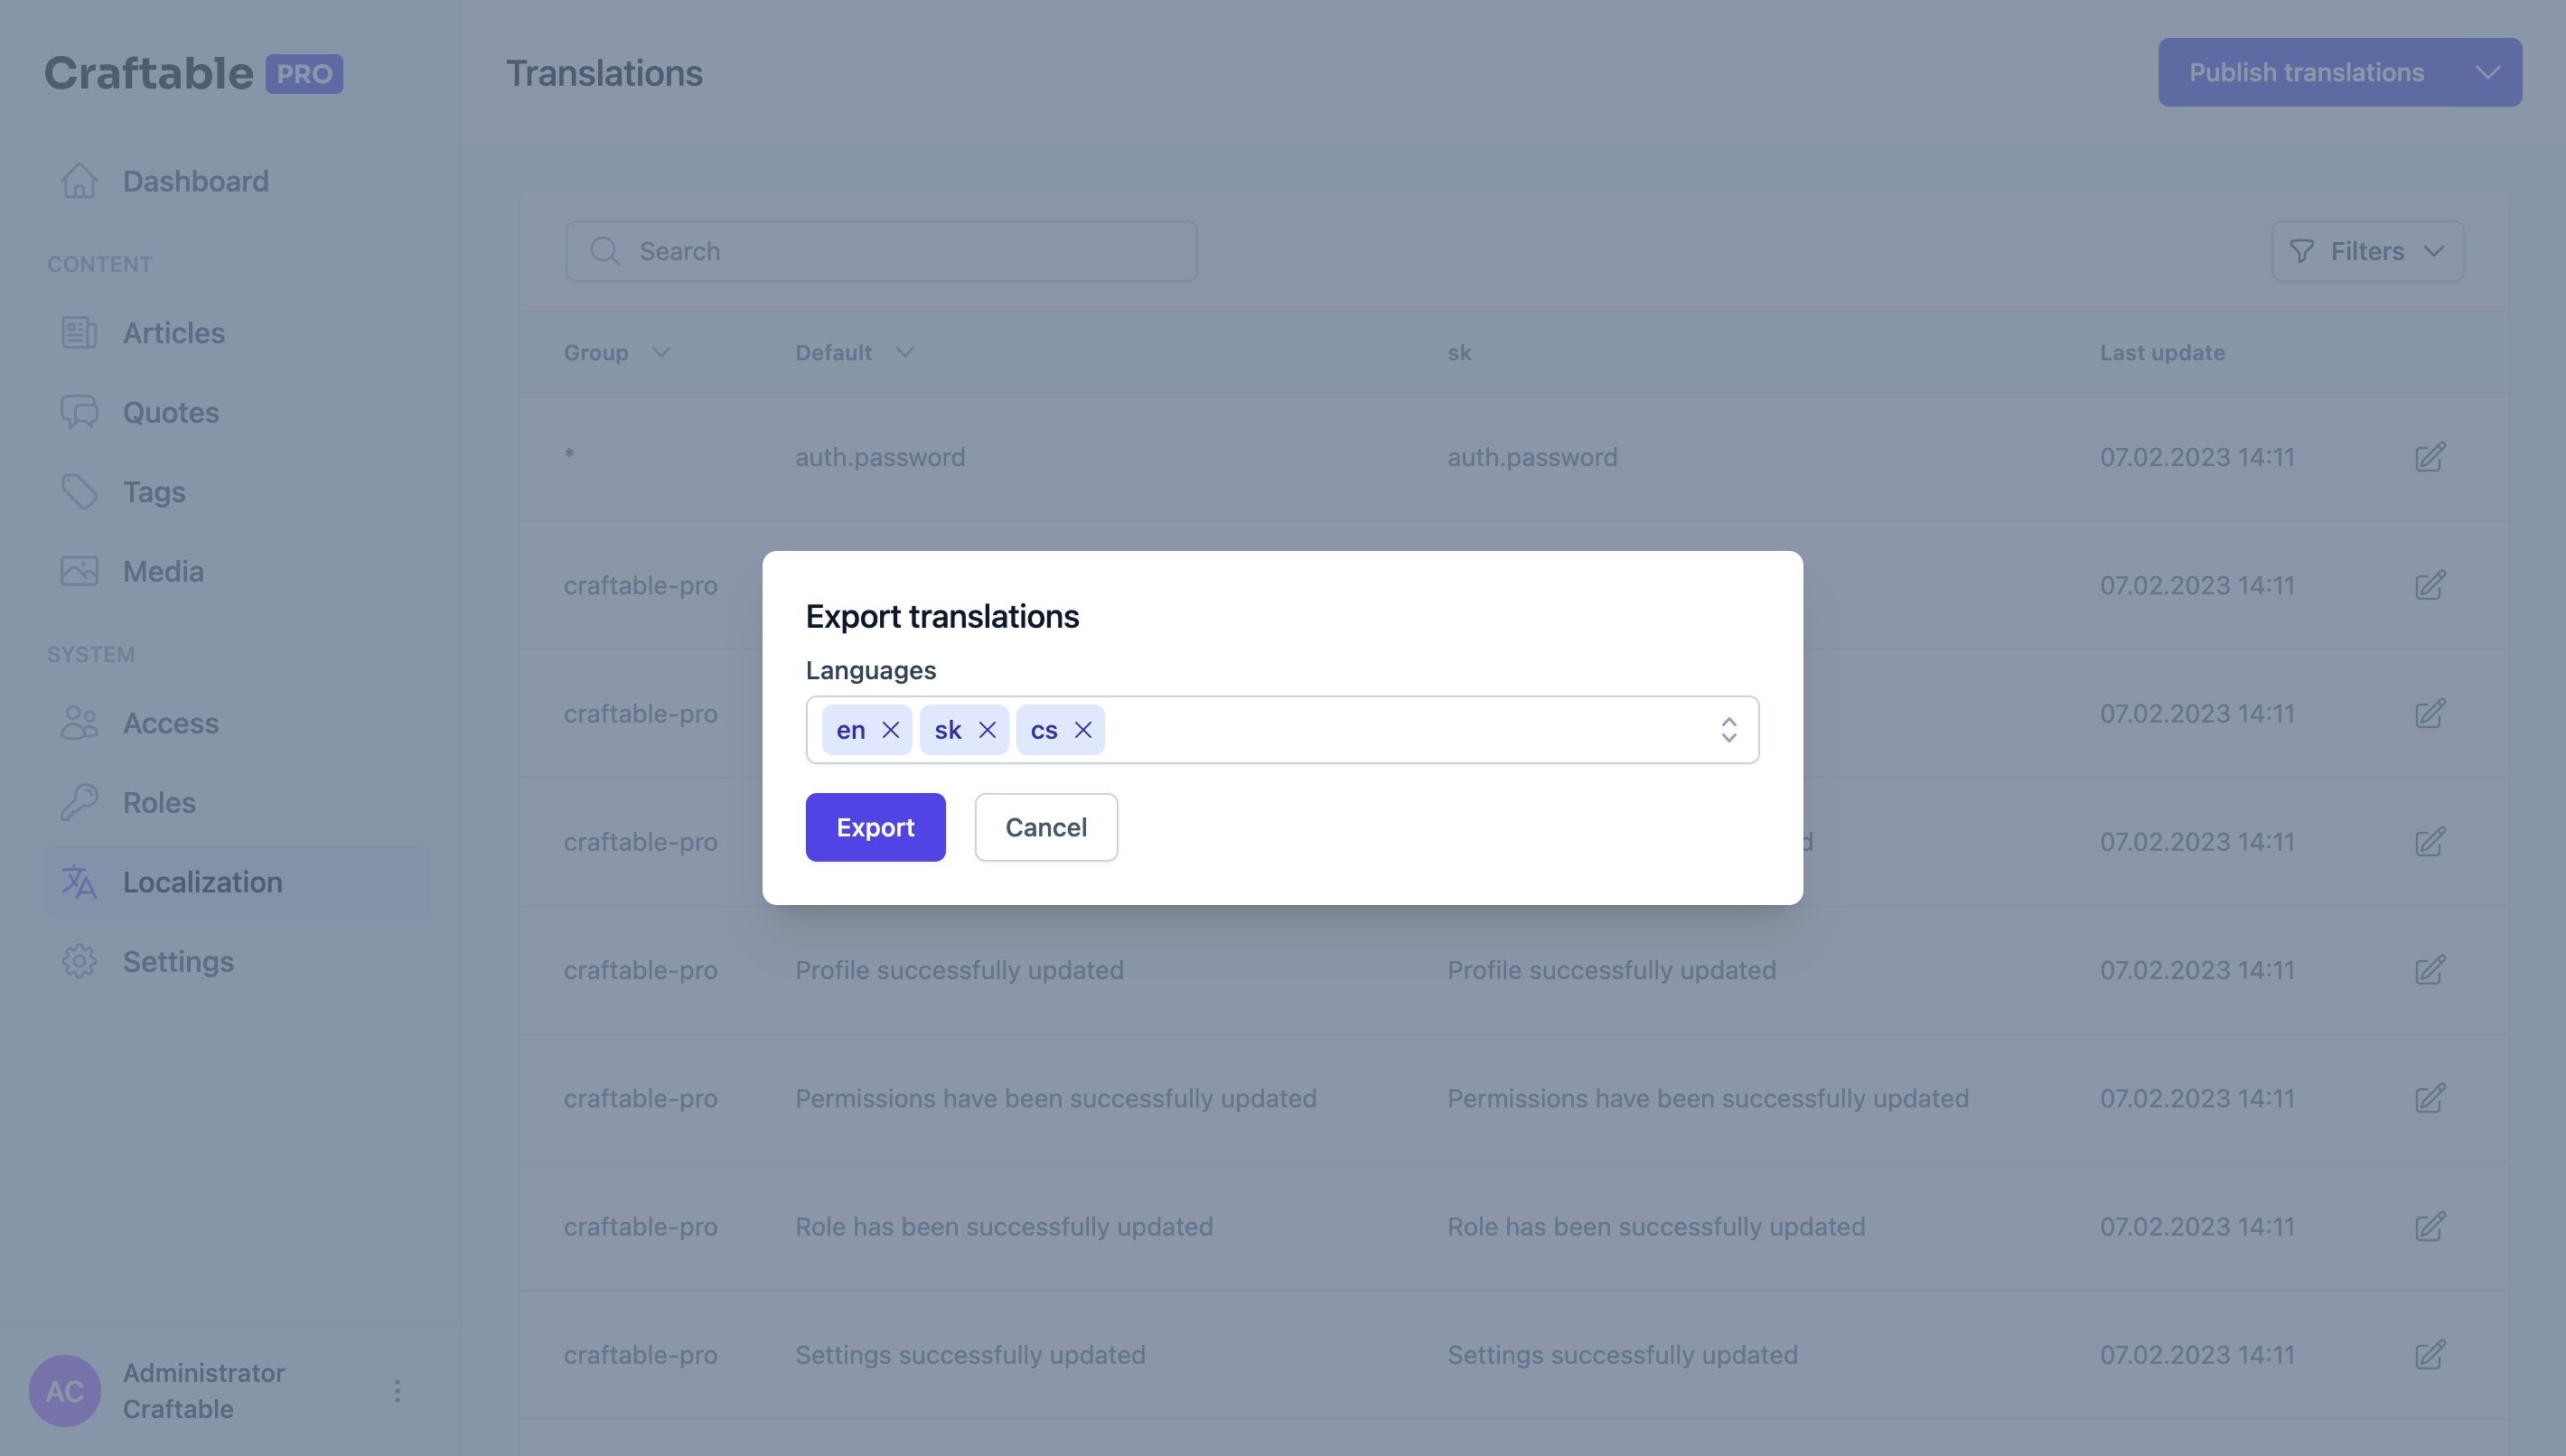
Translation Manager provides the ability to export data in selected languages as .xlsx file as shown below.
Import
Translation Manager provides the ability to import data in a selected language from .xlsx file.
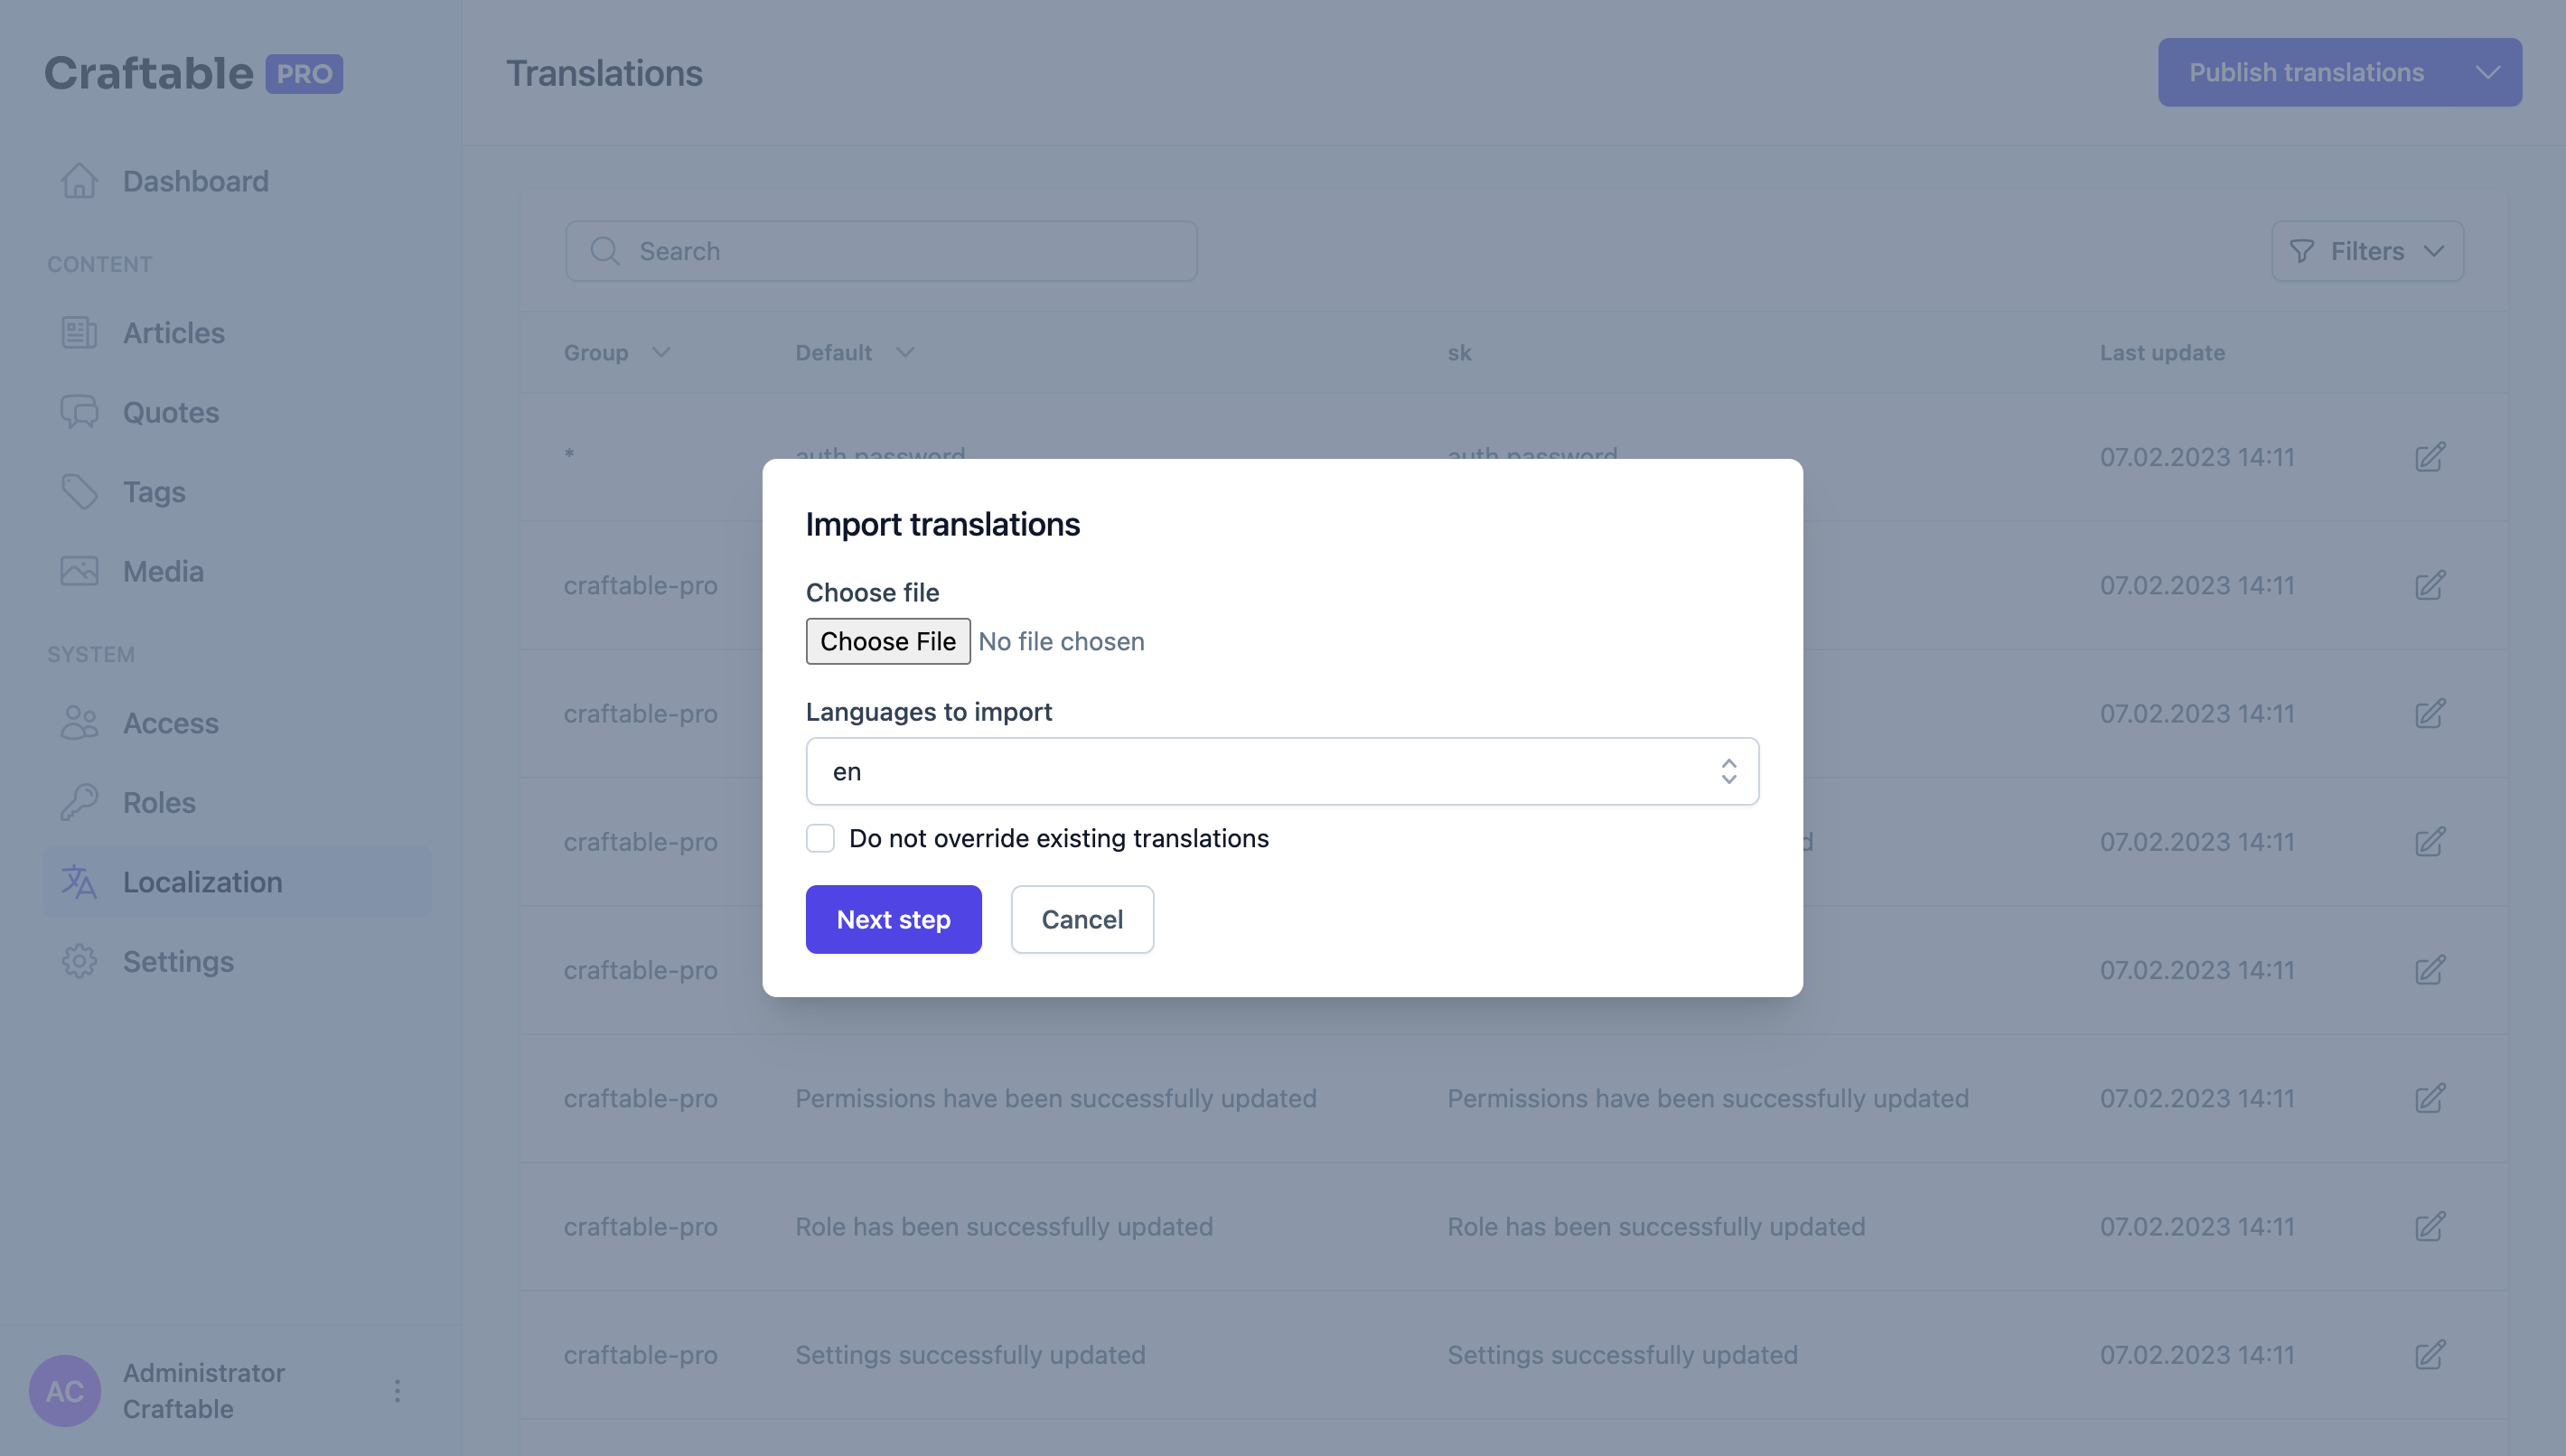
Imported file must have an identical structure as generated in Translations export.
If you check Do not override existing translations option only new translations will be imported. Otherwise, if your import file contains conflicts with the current version of translations, the import will ask you to resolve conflicts to choose which version of translations you want to store.